As gardeners, we all understand the joys of nurturing a garden. It gives us fresh, healthy food that's safe and naturally full of nutrients, while also being kind to the environment and our wallets.
Most importantly, there's nothing quite like enjoying the delicious taste of your own homegrown veggies at the dinner table and feeling that wonderful sense of accomplishment from harvesting them yourself.
You don't have to wait until early May to dive into gardening fun! You can kick things off by starting many veggies from seeds indoors or planting them directly in your garden as early as spring. By growing your garden from seeds, you get to be the boss! Pick from a wide range of veggies and herbs, and plant them whenever it suits you best. Plus, planting your own seeds is a fun and a great learning experience for the kids too!
When To Plant Garden Seeds
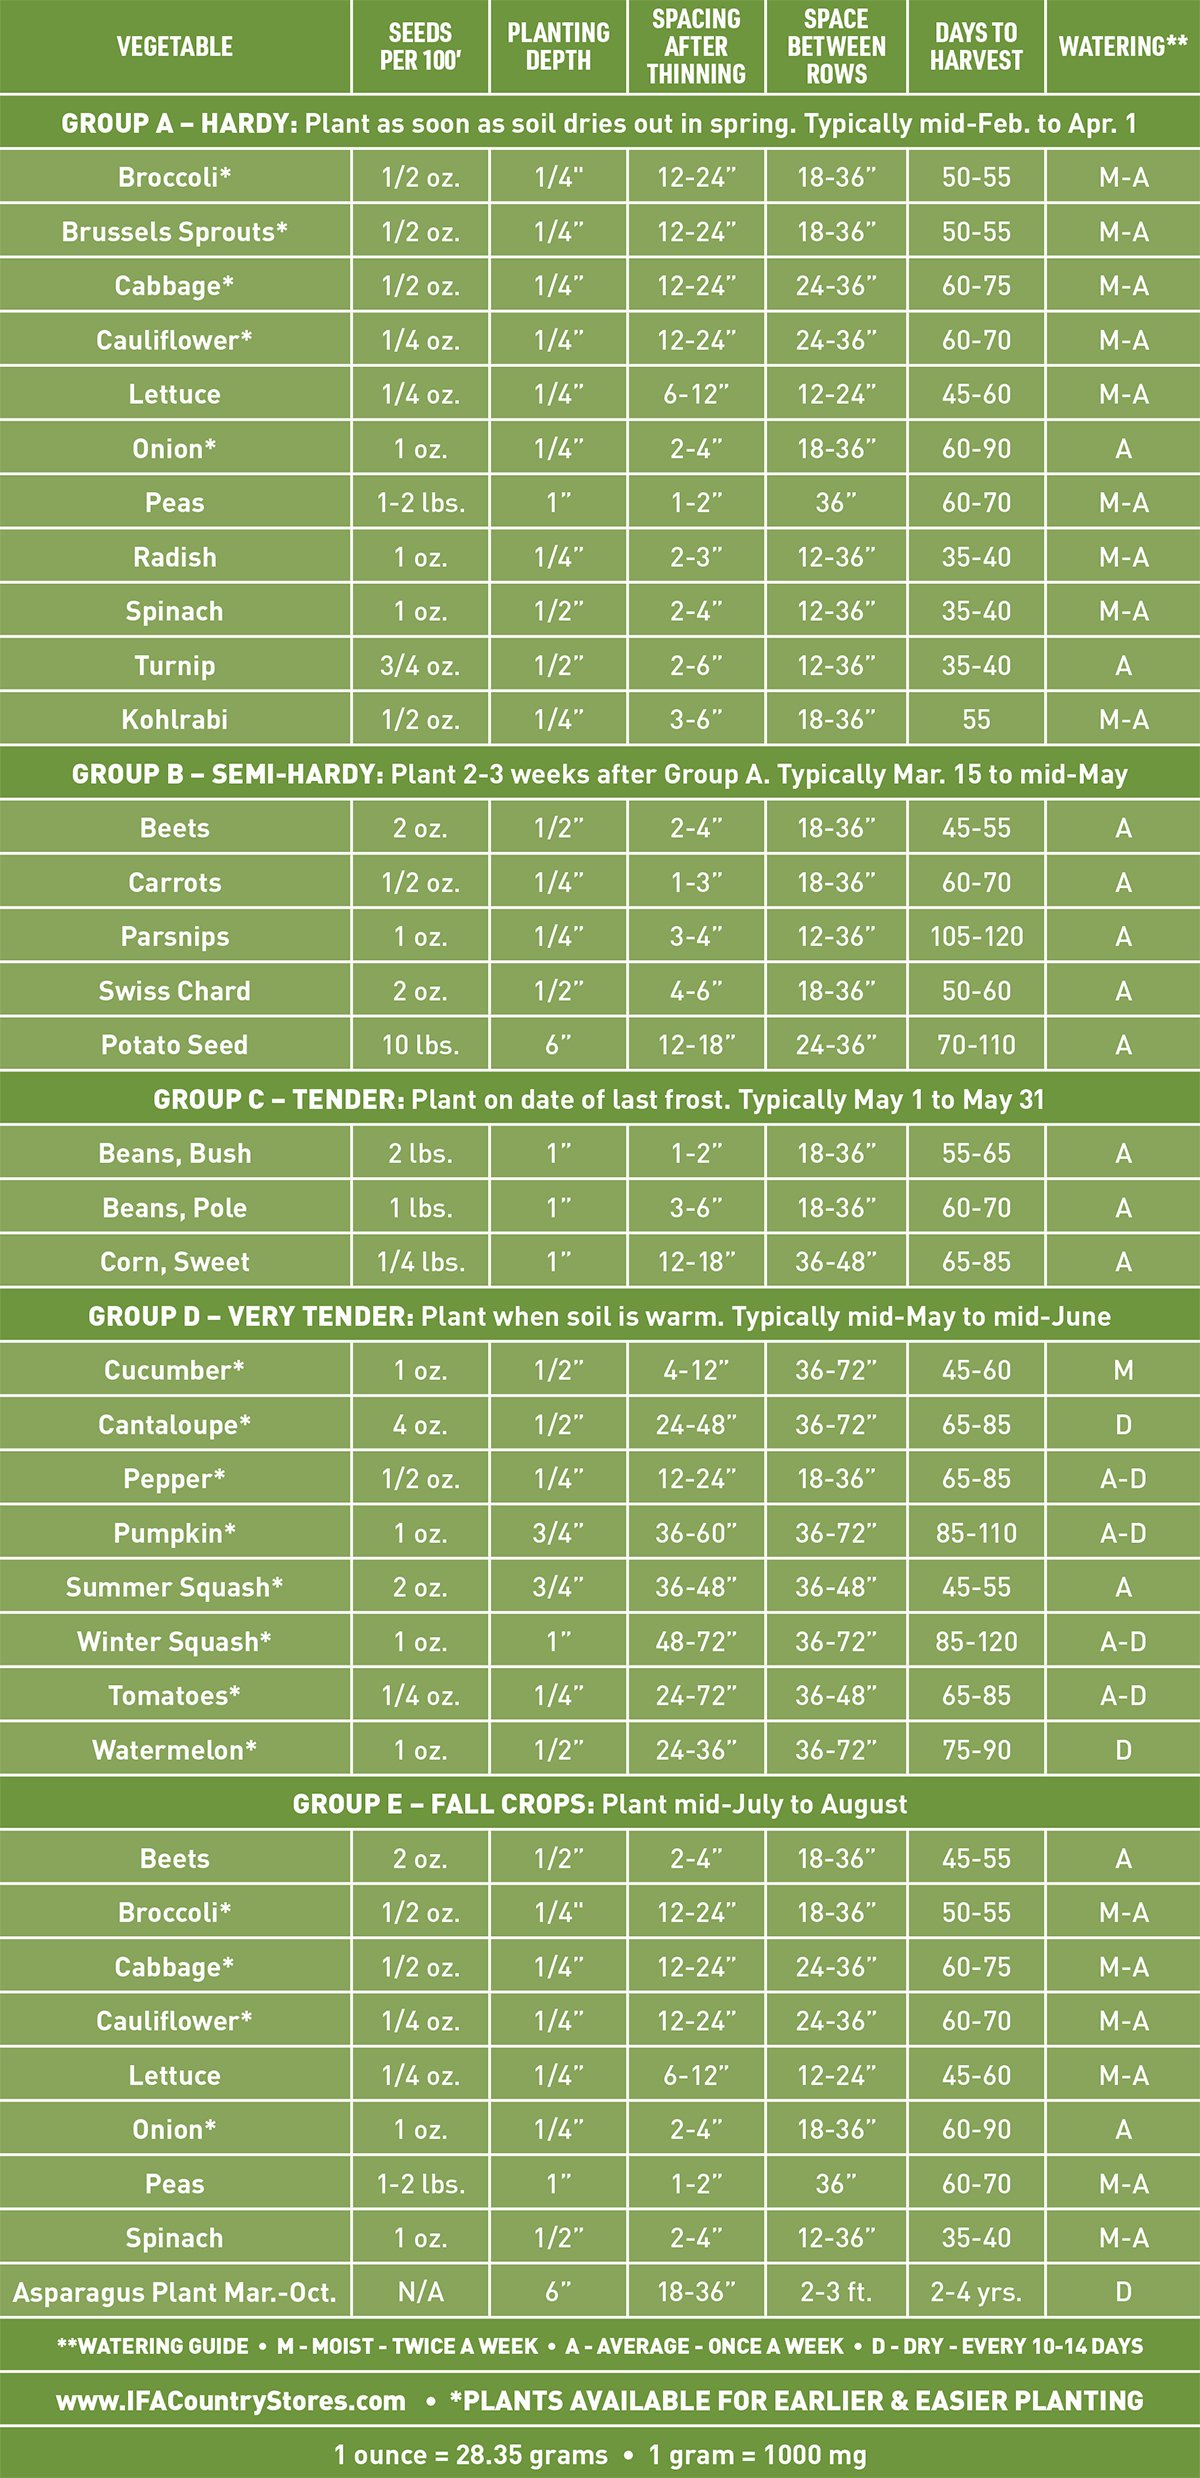
Cole Crop and Cool Weather Vegetable Seeds
You might be surprised to learn that many veggies can be started earlier than you think! Cole crops, which are part of the mustard family and come from wild cabbage, are hardy plants that grow well in cooler weather and can be planted outside sooner.
In fact, cole crops like broccoli, Brussels sprouts, cabbage, cauliflower, collards, kale, onions, radishes, leeks, artichokes, Swiss chard, spinach, and head lettuce just love the cooler weather way more than the summer heat. You can get a head start by beginning some of these indoors and then moving them to your garden, or you can plant them directly outside. Start planting about 8-12 weeks before the last frost date, which is typically around February or March.

Tomatoes, Peppers, Herbs and Other Summer Favorites
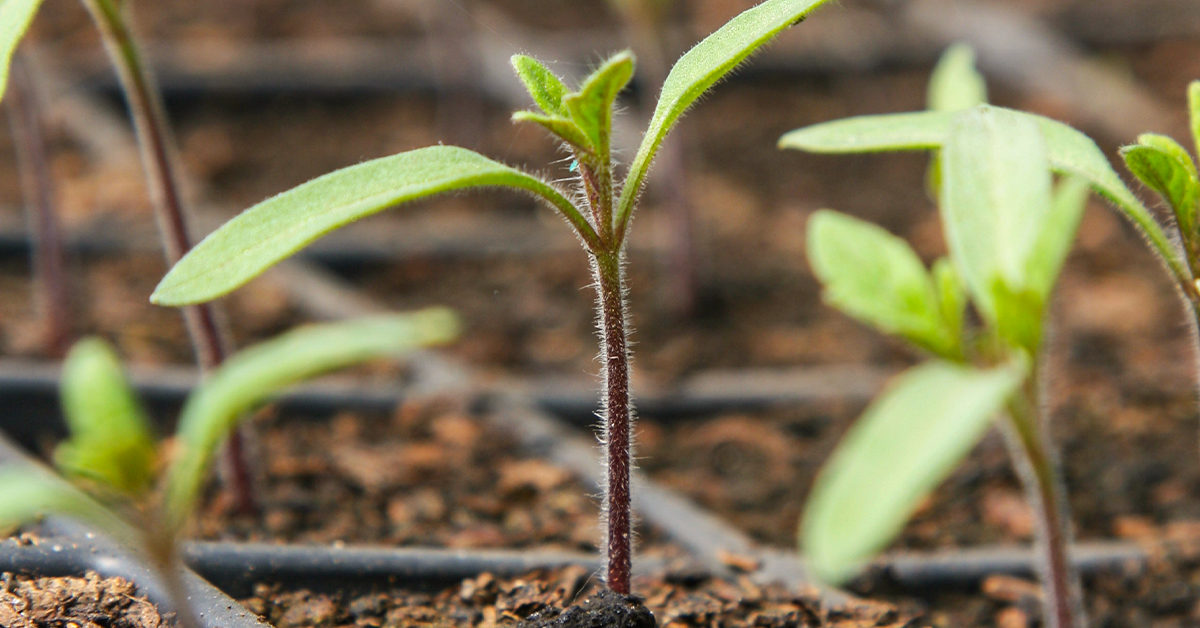
In addition to broccoli, cabbage, cauliflower, and lettuce, tomatoes and peppers are fantastic veggies to kick off indoors. By getting your tomatoes and other tender warm-weather plants started inside, you can jumpstart the growing season. Just plant these seeds indoors about 6-8 weeks before the last frost, and always remember to check the recommendations on your seed packets.
If you're eager to enjoy ripe tomatoes before your neighbors, you can move your seedlings outside a bit earlier than the last frost. Just be sure to keep them protected from freezing temperatures!
Why not give growing your own basil—or any of your favorite herbs—a try? Plus, you can add a splash of color to your garden with some vibrant summer flowers for your beds and planters this year!
How To Start Seeds Indoors
Getting an early start and growing the veggies you love can really pay off! Here are some friendly tips on soil, watering, and lighting to help you get started.
-
Begin with peat pellets or a seedling mix or potting soil in clean containers that have good drainage, using a saucer or pan beneath them. Garden soil may be too heavy. Consider using planting trays, egg cartons, plastic cups, aluminum pans with plastic covers, or even empty toilet paper rolls with the bottoms folded in. Tip: Make sure all the plants are tagged clearly for easy identification.
-
Fill the container with the soil mix and plant the seeds at the depth specified by the instructions on the packet.
-
When watering, ensure the soil remains moist without becoming soggy. Prevent standing water by draining the pan after one hour. If cultivating plants in a tray, introduce water into the tray, allowing it to absorb into the soil. It's also a good idea to review and follow the watering instructions provided on the seed packet.
-
To fertilize, lightly sprinkle a mild liquid solution such as Fertilome Rooting & Blooming 9-58-8 or IFA Grand Champion 8-6-4 on the soil and place your container in a sunny window or under a light. You may cover with a plastic wrap or dome, then set the tray on a heat mat to speed up germination. This increases humidity in the enclosed area so it retains moisture and needs less watering. Day temperatures should stay between 60 and 80 degrees and 55 to 70 degrees at night. Setting your tray on a heat vent will also increase soil temperature and improve germination.
-
Once germinated, remove the plastic/dome and remove the trays from the heat mat if used. Place in a spot with light for 12-14 hours; whether it's a greenhouse, sunny window, or table with growing lights. For artificial light to be effective, make sure the light source is within 6-12 inches of the plant. Provide consistent moisture only as needed and fertilize after leaves emerge.
-
When the true leaves, which are the second set of leaves that appear after seedlings emerge from the soil, emerge, it is advisable to thin the plants to one per container. This ensures that the remaining plant is healthy and does not have to compete with other seedlings for resources. To achieve this, carefully trim the other seedlings down to the soil level. Be careful when handling the seedlings to ensure that the root system remains securely beneath the soil surface.


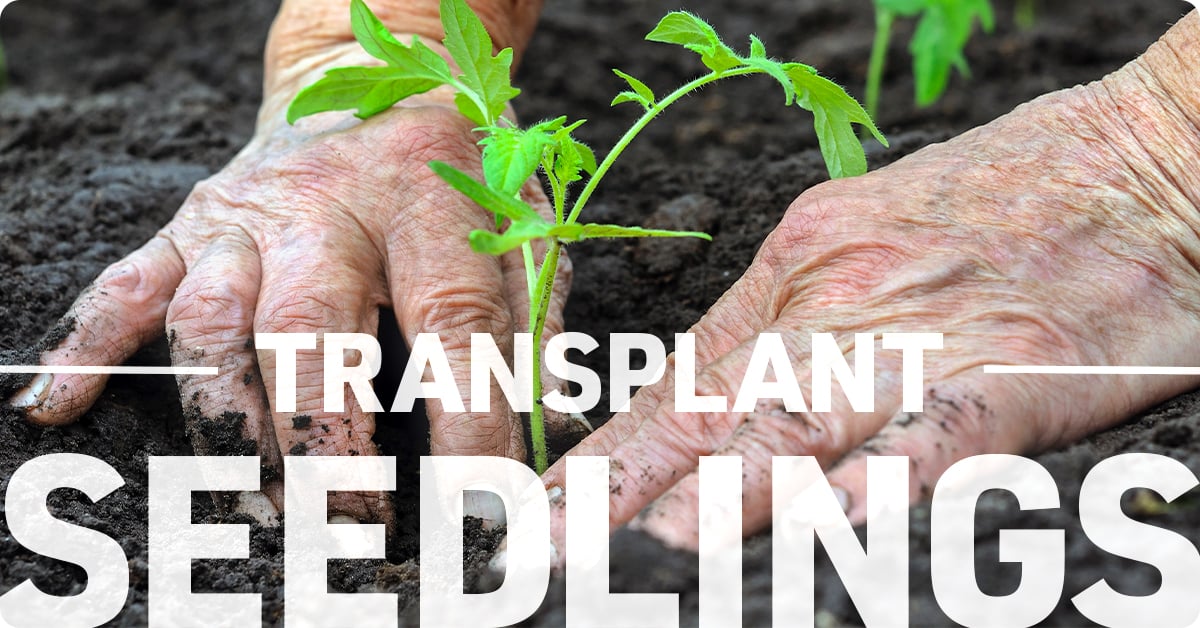
When to Transplant Your Seedlings
Based on our experience, the best time for transplanting seedlings is from April to June, contingent upon your geographical location, when soil temperatures range from 65 to 70 degrees and the threat of frost has subsided.
A minimum of two weeks prior to transplant, it's essential to harden your seedlings by gradually acclimating them to outdoor conditions. This can be achieved by exposing them to direct sunlight for one to two hours daily during the first week, progressively increasing their exposure each day.


Waiting can be tough, but some plants, like melons, squash, cucumbers, and corn, really thrive when planted directly in the ground. If you're eager to get started with direct seeding, try using a frost blanket to warm up the soil for a few weeks before planting. Once you've planted, keep the frost blanket over the new seeds for another couple of weeks (depending on outside temperatures). You can also try using Season Starter Plant Protectors (formerly Walls O’ Water), Hotkaps or a simple milk jug with the bottom cut out to give your seedlings a warm start.
Once your garden is successfully transplanted or directly planted in its new home, keep an eye on it, give it some love, and watch it thrive. Feel free to experiment with new seeds! Enjoy the delicious and healthy treats your garden will offer, and don't hesitate to reach out if you need any help.


Information for this article was provided by Brenda Christophersen, Garden Center Manager, Ogden IFA Country Store; Brinn Hutcheon, Garden Center Asst. Manager, Riverton IFA Country Store; and Kent Mickelsen, Utah Certified Nurseryman, IFA Country Store.